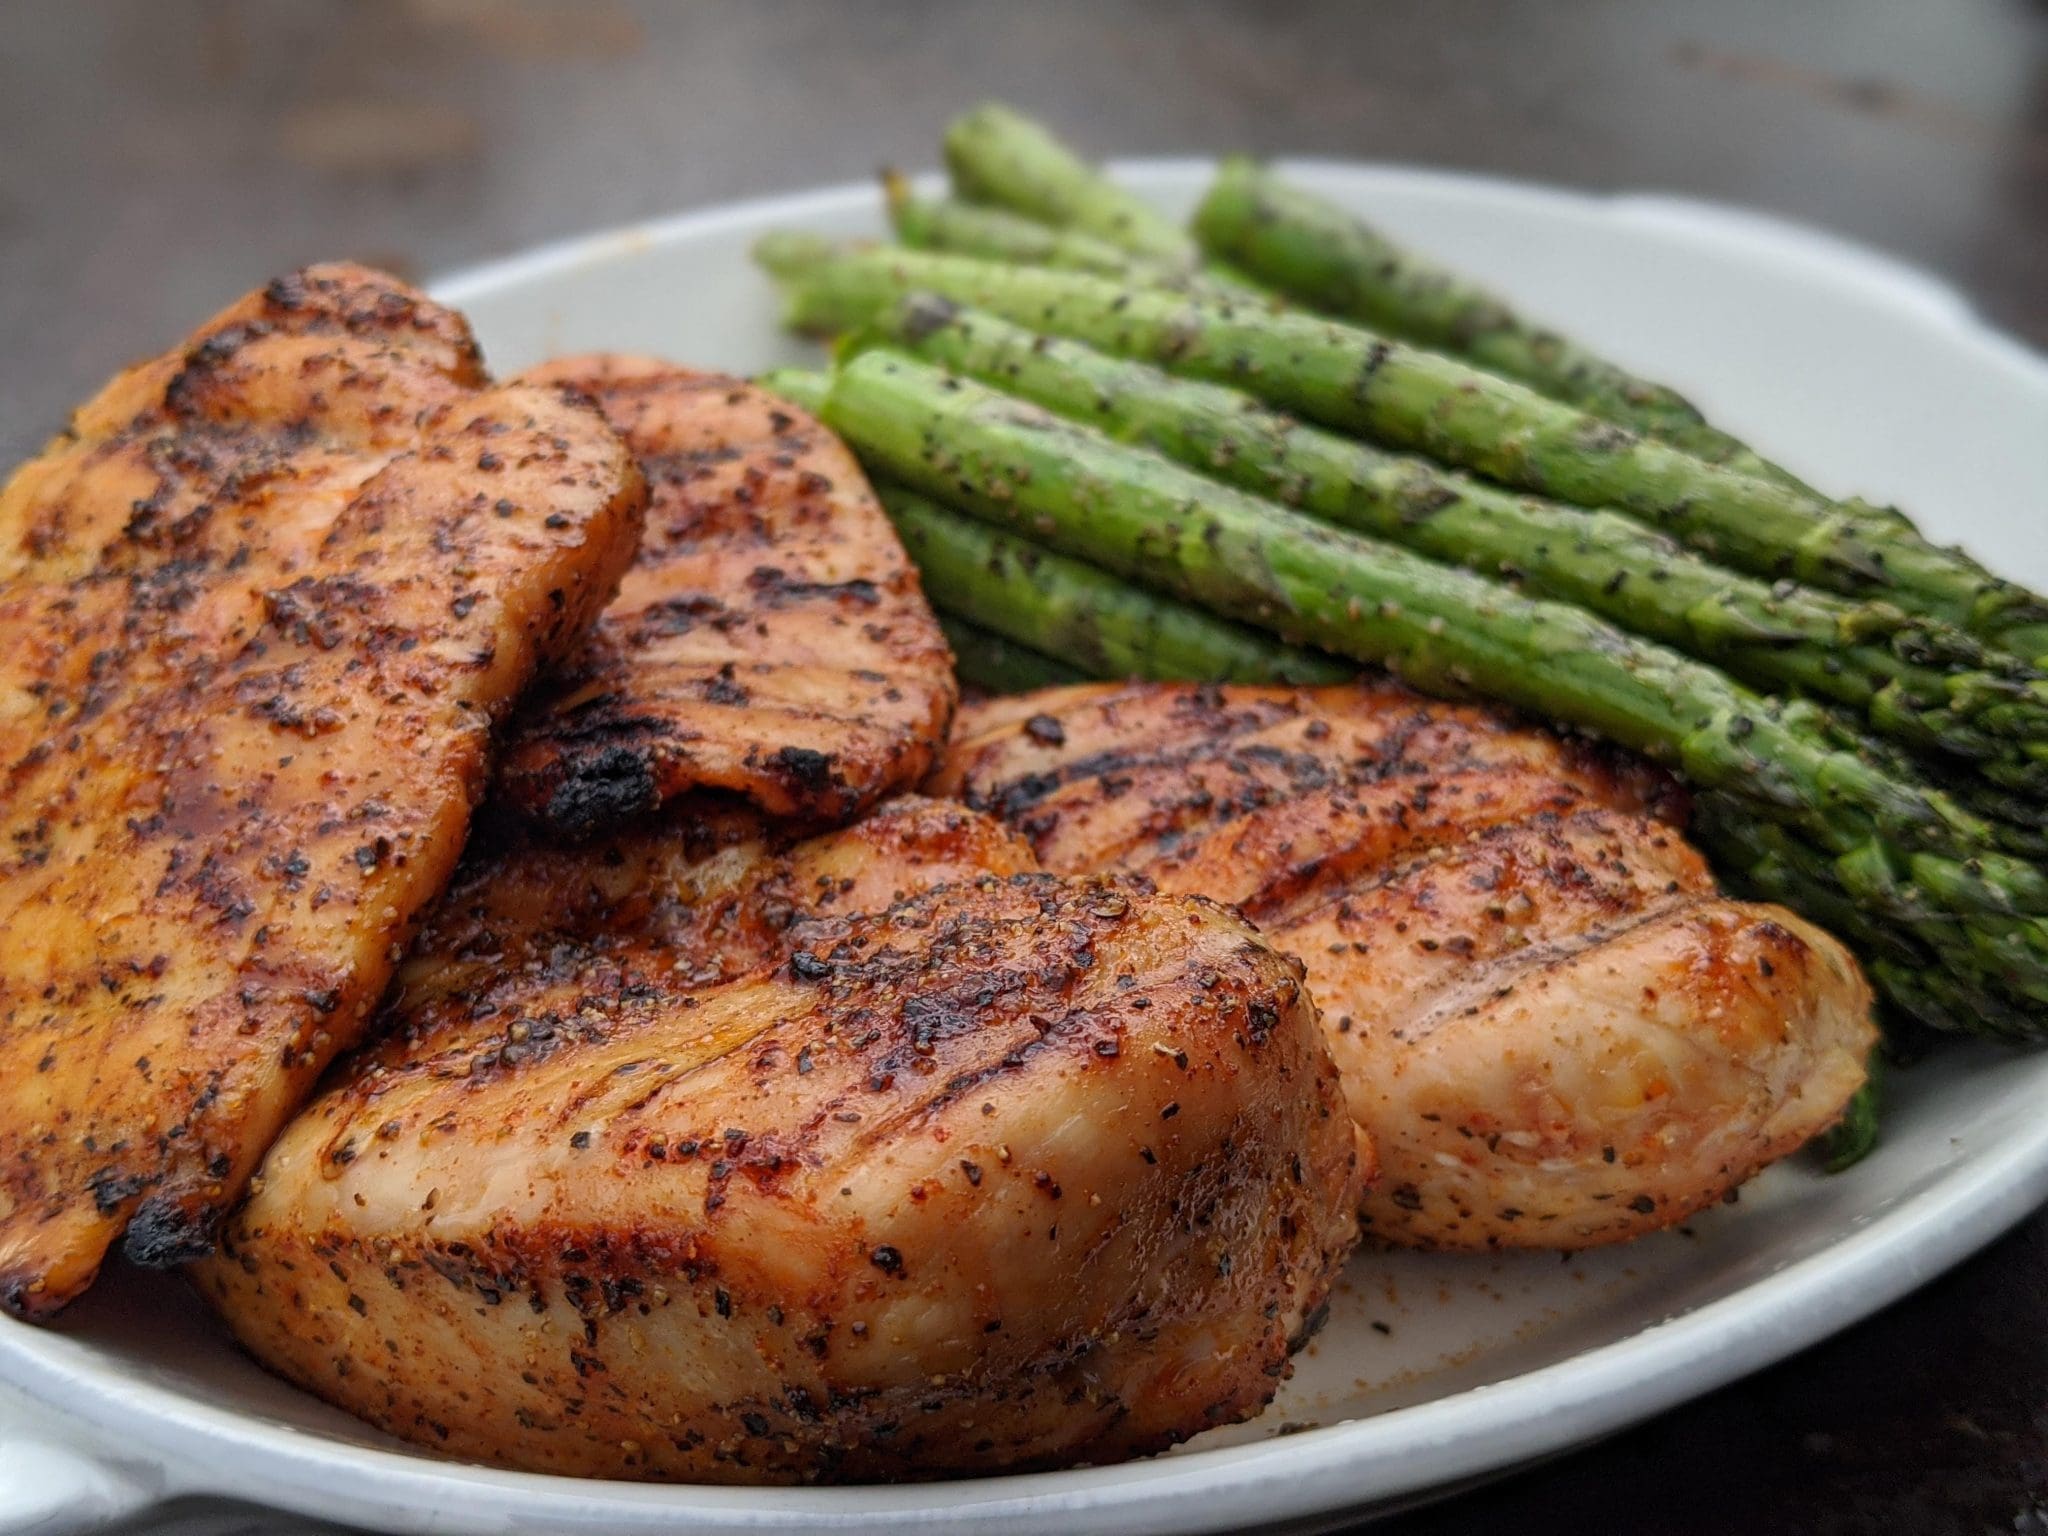
Dry-Brining 101: The Simple Secret To Unlocking Restaurant-Quality Meals at Home
Dry-brining meat is a simple yet effective way to elevate the flavour and texture of your meals. If you’re tired of dry, bland chicken or tough steaks, it’s time to give dry-brining a try.
In this post, we’ll explain what dry-brining is, why we think it’s better than traditional wet-brining, and how you can use it to improve your everyday cooking.
What is Dry-Brining?
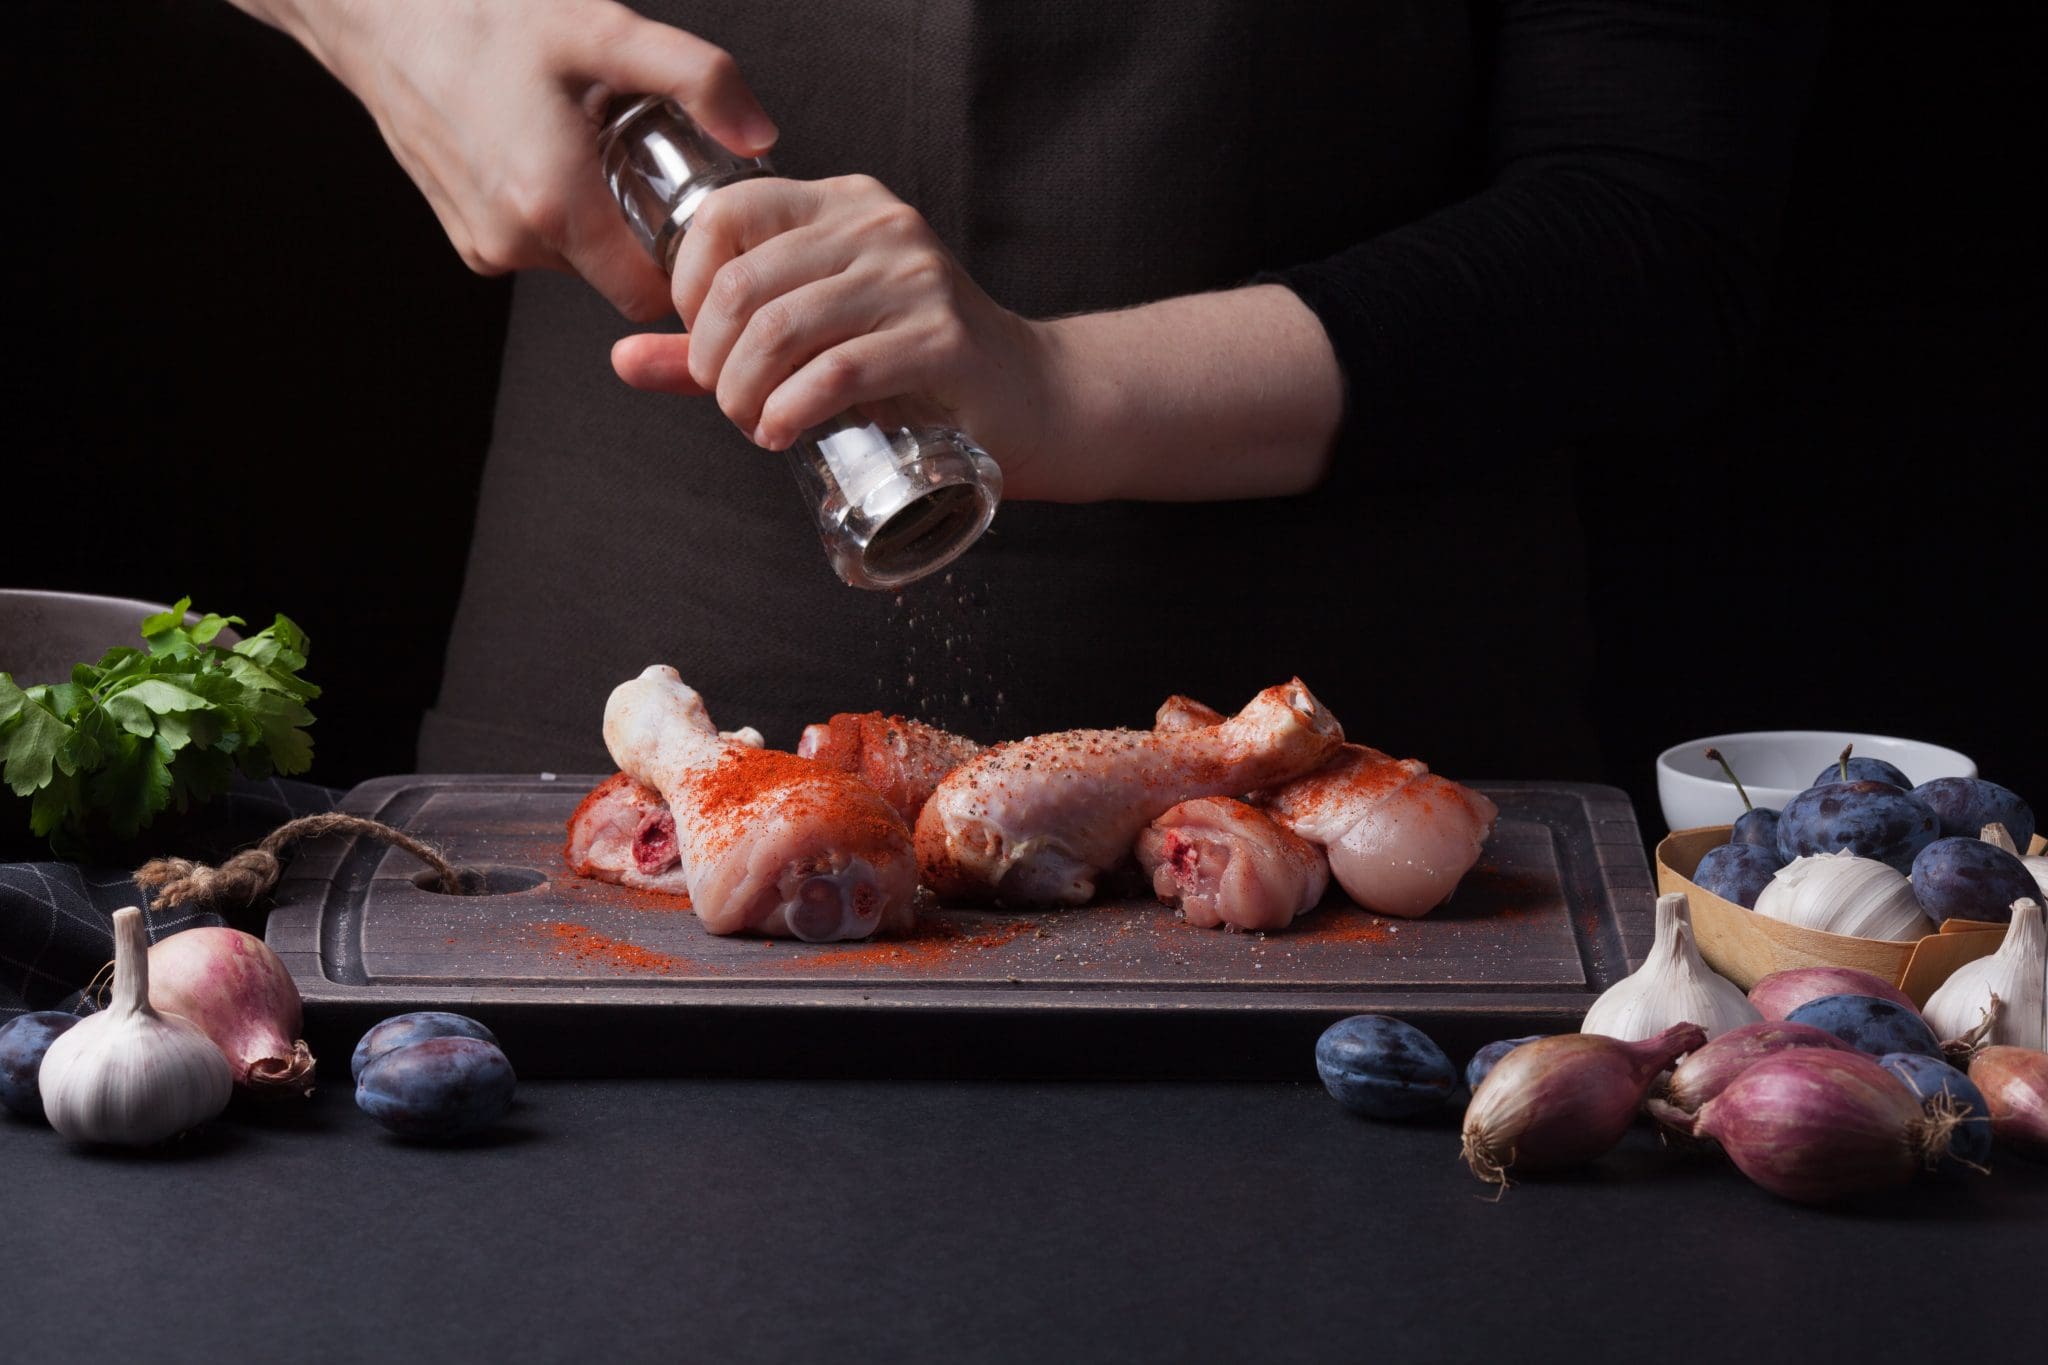
Dry-brining is a process of seasoning meat with salt and other spices before cooking. Unlike traditional wet-brining, which involves submerging meat in a saltwater solution, dry-brining is done by rubbing the meat with a dry mixture of salt and spices. The salt works together to draw out moisture from the meat, which is then reabsorbed along with the flavours of the seasonings.
How Is It Different Than Wet-Brining?
Wet-brining has been used for decades to add flavour and moisture to meats. But dry-brining is superior in many ways. Dry-brining allows the salt to penetrate deeper into the meat than wet-brining. This means that the flavour is more evenly distributed throughout the meat, resulting in a more flavourful meal.
One of the main benefits of dry-brining is that it doesn’t require as much liquid as wet-brining. This means that the meat will retain more of its natural flavour and texture. Additionally, dry-brining is not as messy and requires less equipment than wet-brining. You can even dry-brine meat in a resealable plastic bag, making it a convenient option for your home cooking.
Tips for Dry-Brining Success:
Dry-brining meat is easy and requires only a few simple steps:
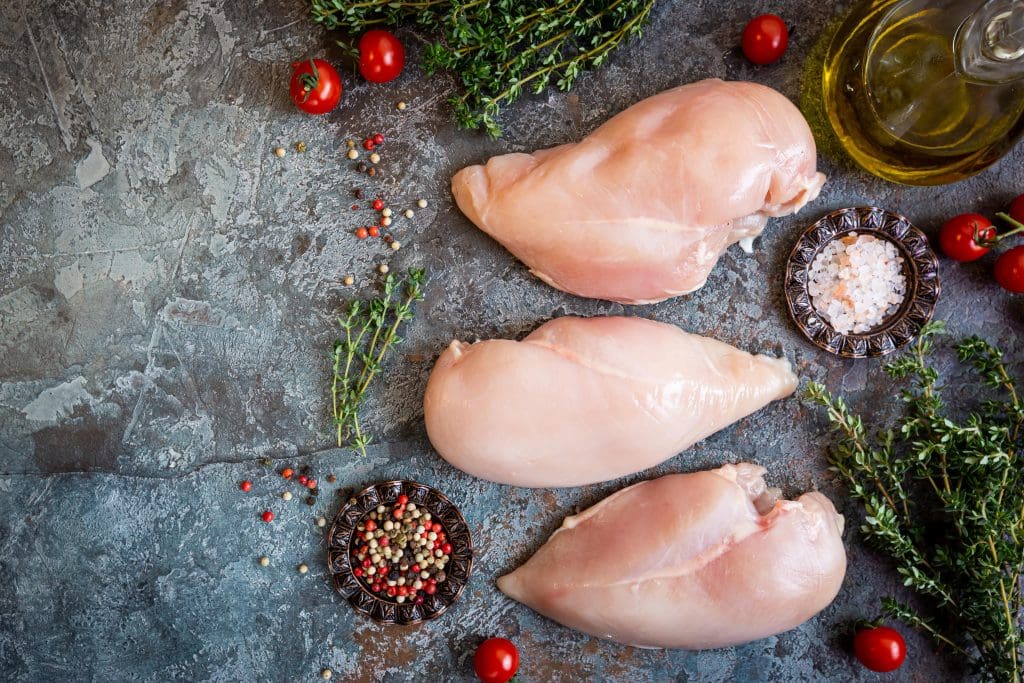
- Mix together your dry-brine ingredients. A basic dry-brine mixture consists of 1 tablespoon of kosher salt per pound of meat, along with any additional spices or seasonings you prefer – try using garlic powder, onion powder, paprika and black pepper for a simple combo that works well with almost any recipe.
- Rub the mixture onto the meat. Be sure to coat the meat evenly and thoroughly.
- Place the meat in a resealable plastic bag or a covered dish, and refrigerate for 2-3 hours or up to a full day in advance. We find we get the best results with a full half-day of brining.
- Remove the meat from the refrigerator and pat dry with paper towels. Allow the meat to come to room temperature before cooking.
- Give the meat a light coating of your favourite neutral cooking oil (we like using avocado or grapeseed oil). This helps promote even cooking, prevents the meat from drying out as much and will give us some great colour on the finished product.
- Cook the meat as desired.
- Enjoy the juiciest, most delicious cuts of meat you’ve ever had!
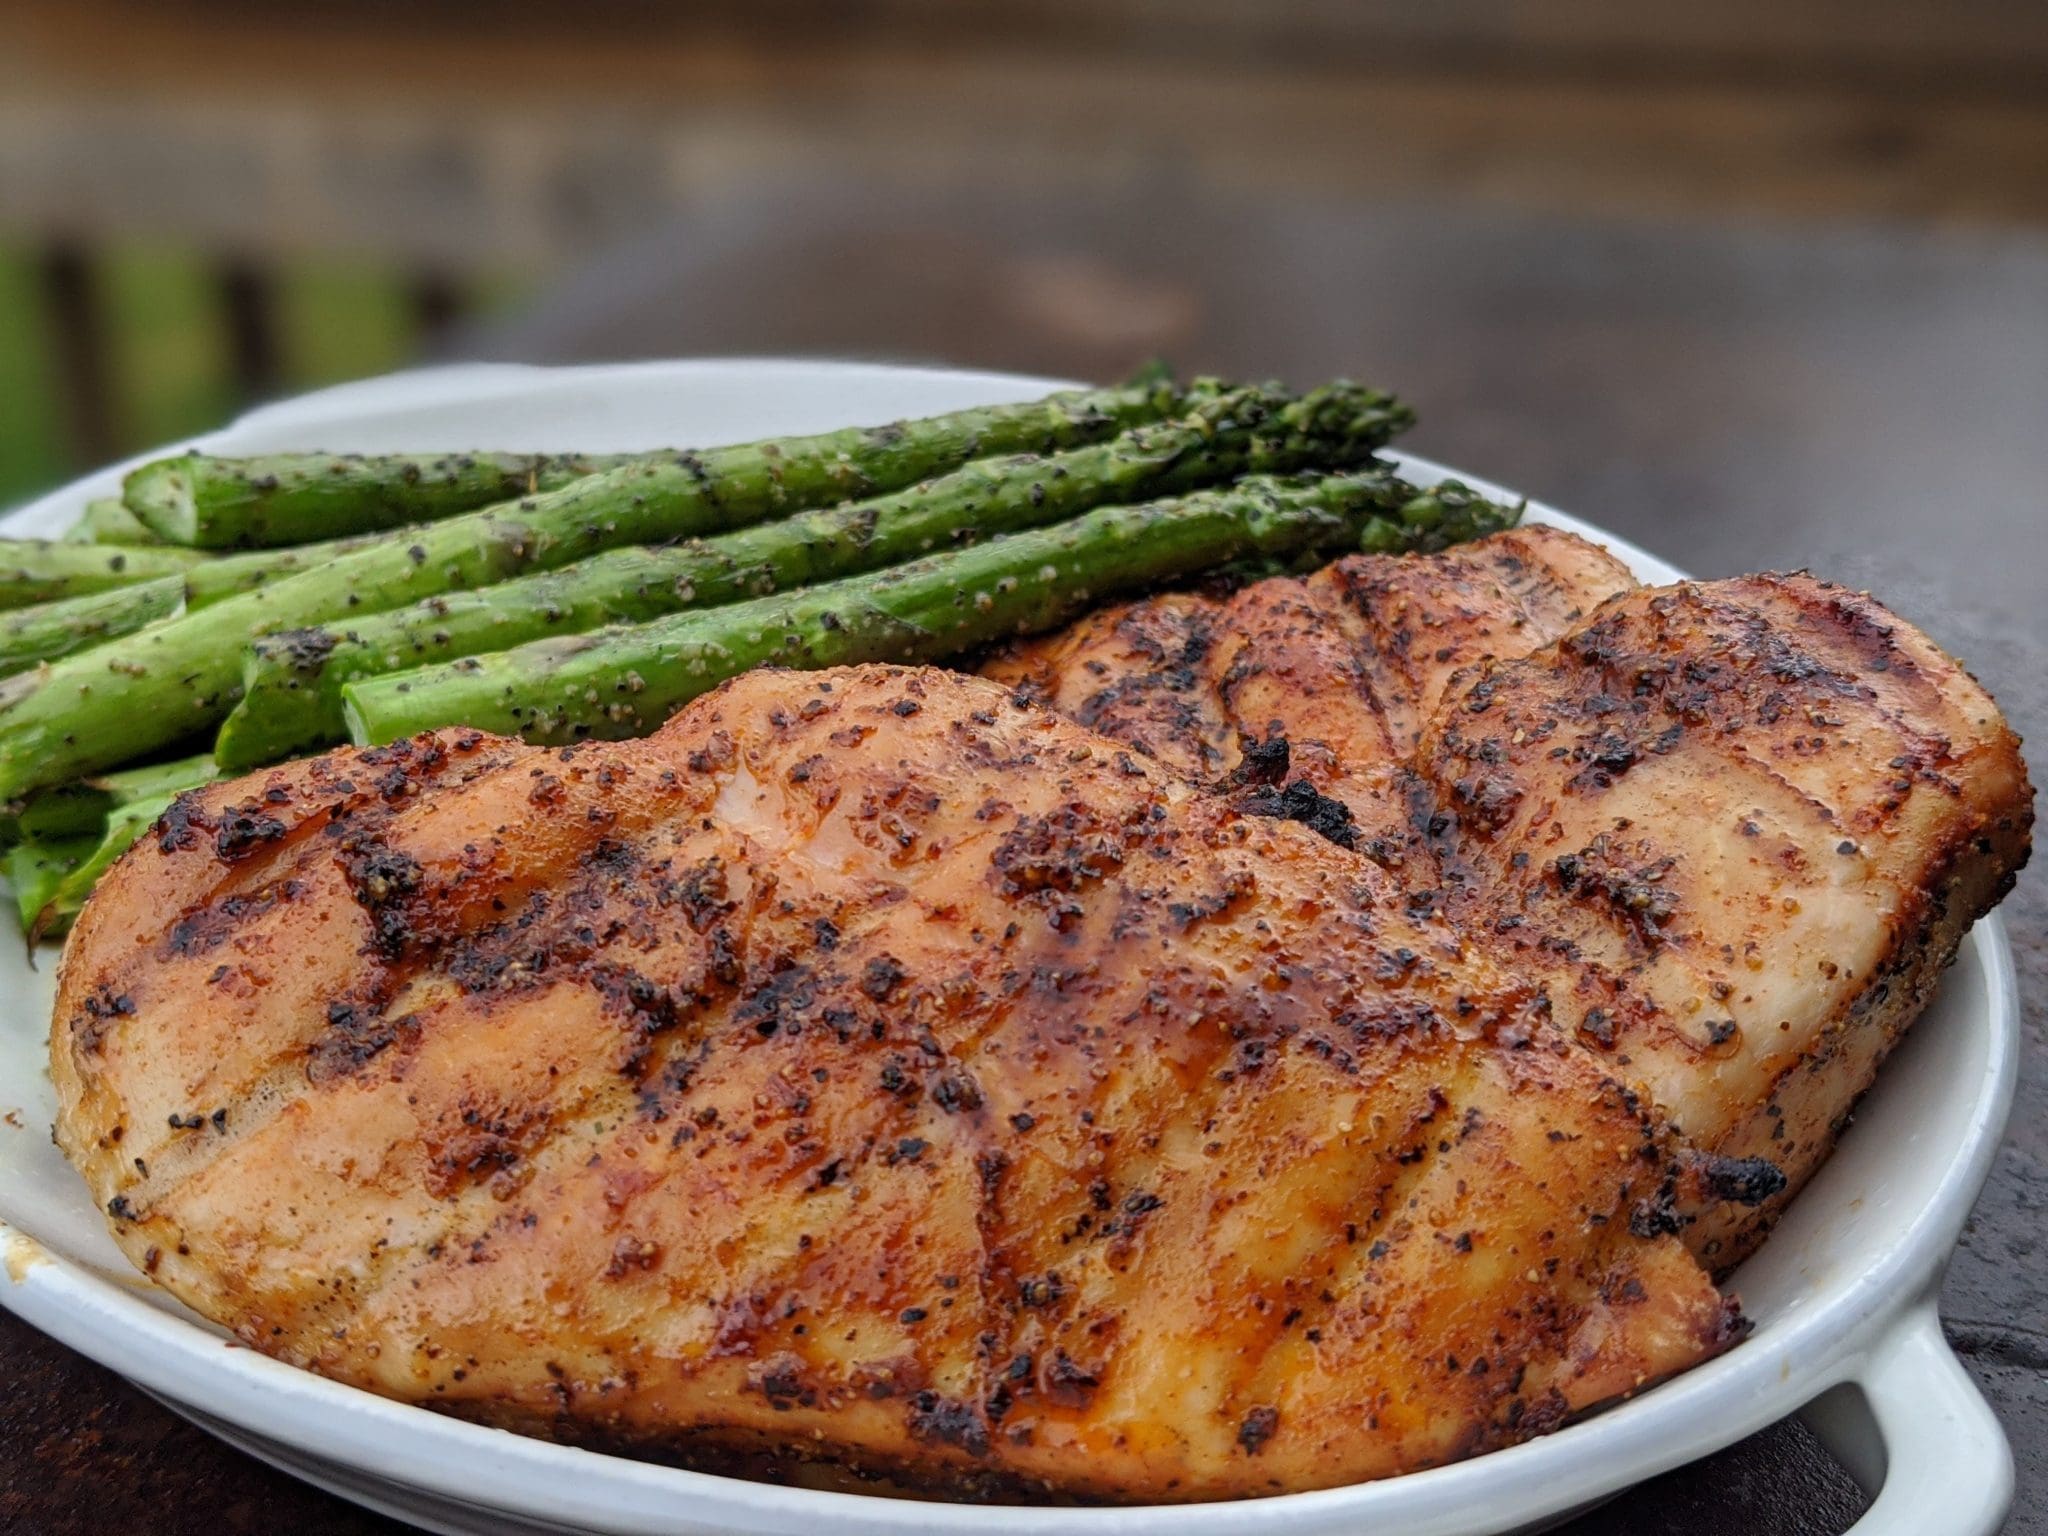
How to Dry-Brine Meat At Home:
- Use kosher salt. It has a cleaner taste and dissolves more easily than other types of salt.
- Don’t over-brine. Over-brining can make the meat too salty and can also affect the texture.
- Experiment with different seasonings. Dry-brining is a great way to add depth and complexity to your meat dishes. Try different spice blends, herbs, and citrus zests to find your perfect flavour combination.
- Only use the best quality meats for your dry-brining. We recommend using high quality grass-fed and pasture-raised cuts to ensure that your dry-brining experiments turn out perfectly every time.
![]()
Final Thoughts: Dry-Brining 101
In conclusion, dry-brining is a simple yet effective way to elevate the flavour and texture of your meals. It’s a great way to achieve restaurant-quality meals at home, without the need for expensive equipment or a lot of prep time. By following the tips in this post, you’ll be able to dry-brine like a pro in no time.
